What I Pack as a Traveling Street Photographer
Every photographer planning a photography trip faces the same dilemna. What gear do I bring and what do I leave behind? The FOMG (Fear of Missing Gear - definitely just made that up) comes into mind and you feel like you can’t go without a certain lens for a certain situation.
It leads to overpacking and trust me, I’ve done my fair share of overpacking.
With every trip I’ve been on in the last year, I’ve continued to pack less gear with me, sometimes adding new pieces and swapping with other gear. What it has lead to is a simple and practical camera and travel set up that worked really well for me.
I’m just coming back from two months on the road, a month in Paris and a month in Venice and for the most part this is what I brought with me on the trip, however there are a few tweaks I’ve made that I think I will stick with going forward.
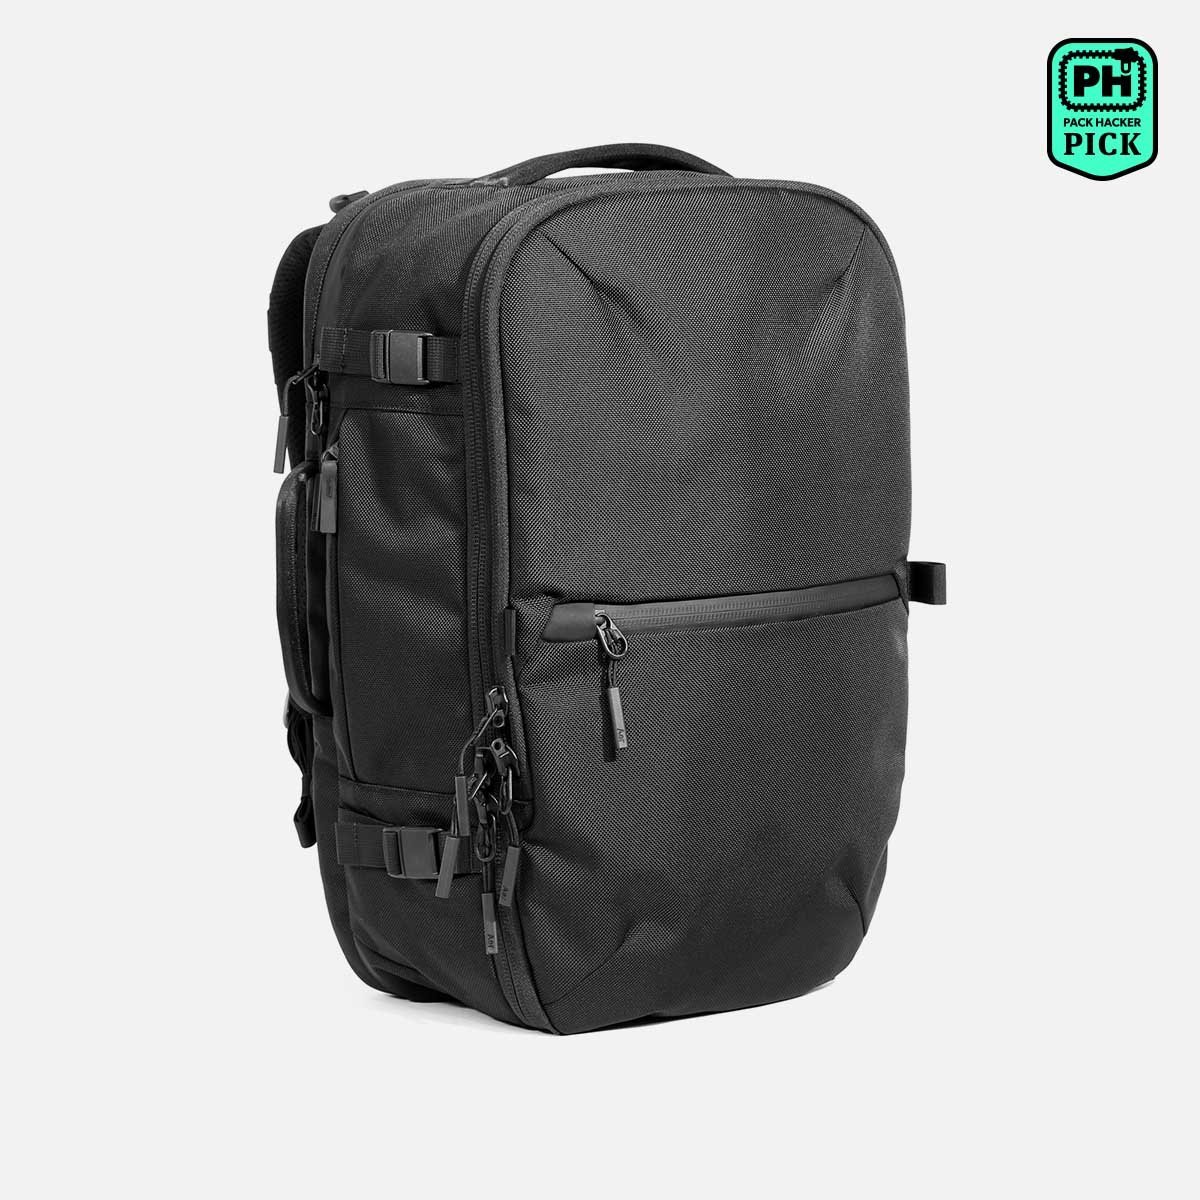
Carry On Only
Before I get into the details of what I pack, I must talk about carry on baggage. I will always travel carry on only and never check a bag when I travel because I cannot risk having my baggage lost, especially if there’s important camera gear.
The benefits of going carry-on only:
It saves you time as you never have to wait for your stuff at baggage claim
It saves you money because you don’t have to pay the extra price for checked baggage
It keeps your stuff safe because it’s always in arm’s reach
It forces you to pack less and bring only the essentials
Most flights will also allow for you to bring a “personal item” with you along with your carry-on bag. In my experience I’ve found that most airlines allow personal items to be bags that are small enough to fit under the seat infront of you.
This means you could potentially bring a second backpack, so long as it’s small enough to be stowed in front of you. Airlines can sometimes be intentionally unclear about what qualifies as a personal item, listing that you can bring a tiny purse, laptop case, or camera as a personal item. It makes you think that a backpack wouldn’t qualify, right? But always read the actual dimensions list for the baggage and there you will see it’s often times bigger than you think. Always go off of that information when packing.
In most cases, I’ve found that a small sling/shoulder bag for camera gear will usually pass as a personal item on most major airlines. Because of this, I take advantage of it when it comes to packing my camera gear.
Since the bag is being stowed infront of me it’s the most secure and so it’s in the personal item bag that I pack all of my essential camera gear. In the event that there’s no overhead storage for my carryon bag and the Airline needs to check it, I still have my camera gear with me in that scenario because it’s in the personal item.
OK now that we got that out of the way, here’s what I’ve packed.
Personal Item
Wotancraft “Pilot” Travel Camera Bag
Essential camera gear
Passport & Airline ticket
iPad Pro
Essential Camera Gear
This is the basis of my photography kit for travel. It consists of one main camera (Fuji X-T5) for my photography and videography as well as one backup camera (Ricoh GR IIIx).
The X-T5 provides a stellar hybrid between photography and video. It’s design is purely for photography, but internally it can handle all of my video needs. To go with the X-T5 use the Sigma 18-50mm lens as my main zoom. It’s one of the lightest most compact zoom lenses out there for the Fujifilm system. That’s the main reason I got this lens, but it’s image quality is great as well.
Additionally I’ve also packed one prime lens, my favorite lens to shoot street photography with, and that’s the 35mm f/2 lens. The f/2 primes that Fujifilm makes are excellent travel lenses because of their compact size. I’ve brought this one with me to provide a backup lens but also to add some variety to my kit.
Finally we have the Ricoh GR IIIx. It’s the best travel companion/backup camera out there in my opinion because it gives me the image quality of any big camera system, but in a fraction of the size.
Photo Editing & Video Editing Essentials
Because I’m also making YouTube videos while I travel, what I need to pack becomes a bit more complicated because I’m also packing video gear along with my photography gear.
I made a big switch earlier this year opting for the hybrid camera of the X-T5 as my main photo/video camera when I travel rather than bringing a separate video camera to go along with my photography camera. This simplified things a ton and saved a lot of weight and space for me.
The one big and heavy addition to my kit that is solely video related is my tripod. I never use it for photography, but I can’t make my videos without it. I use the Peak Design Travel Tripod because it’s the most compact one out there.
I also have to bring audio recording equipment. On my last trip I actually brought my condenser microphone and audio recorder, but I realized it was a bit overkill. Now I’m just opting for this compact lavalier/recorder system.
I also have video editing equipment such as my iPad and MacBook. If I was just on a photography trip, I might ditch the iPad and just go with my MacBook, but on my last trip I had a screen issue with my MacBook that made it very hard to work on. Luckily I also had my iPad, so I could use it as a secondary display. I think this was a sign to keep the iPad in my kit.
Lastly, because I have so many things that need to be charged having this power strip that also acts as a power converter has been one of the handiest pieces of gear for travel. It’s surprisingly compact and lightweight, making it much easier to pack.
The Rundown
Personal Item - 7L
Airpods 3
Carry On - 35L
6 Uniqlo Airism Ts
2 pants
6 boxer briefs
6 socks
1 pullover sweater
1 raincoat
1 backup pair of sneakers
Toiletries Bag
Liquids Bag


