 Image 1 of 7

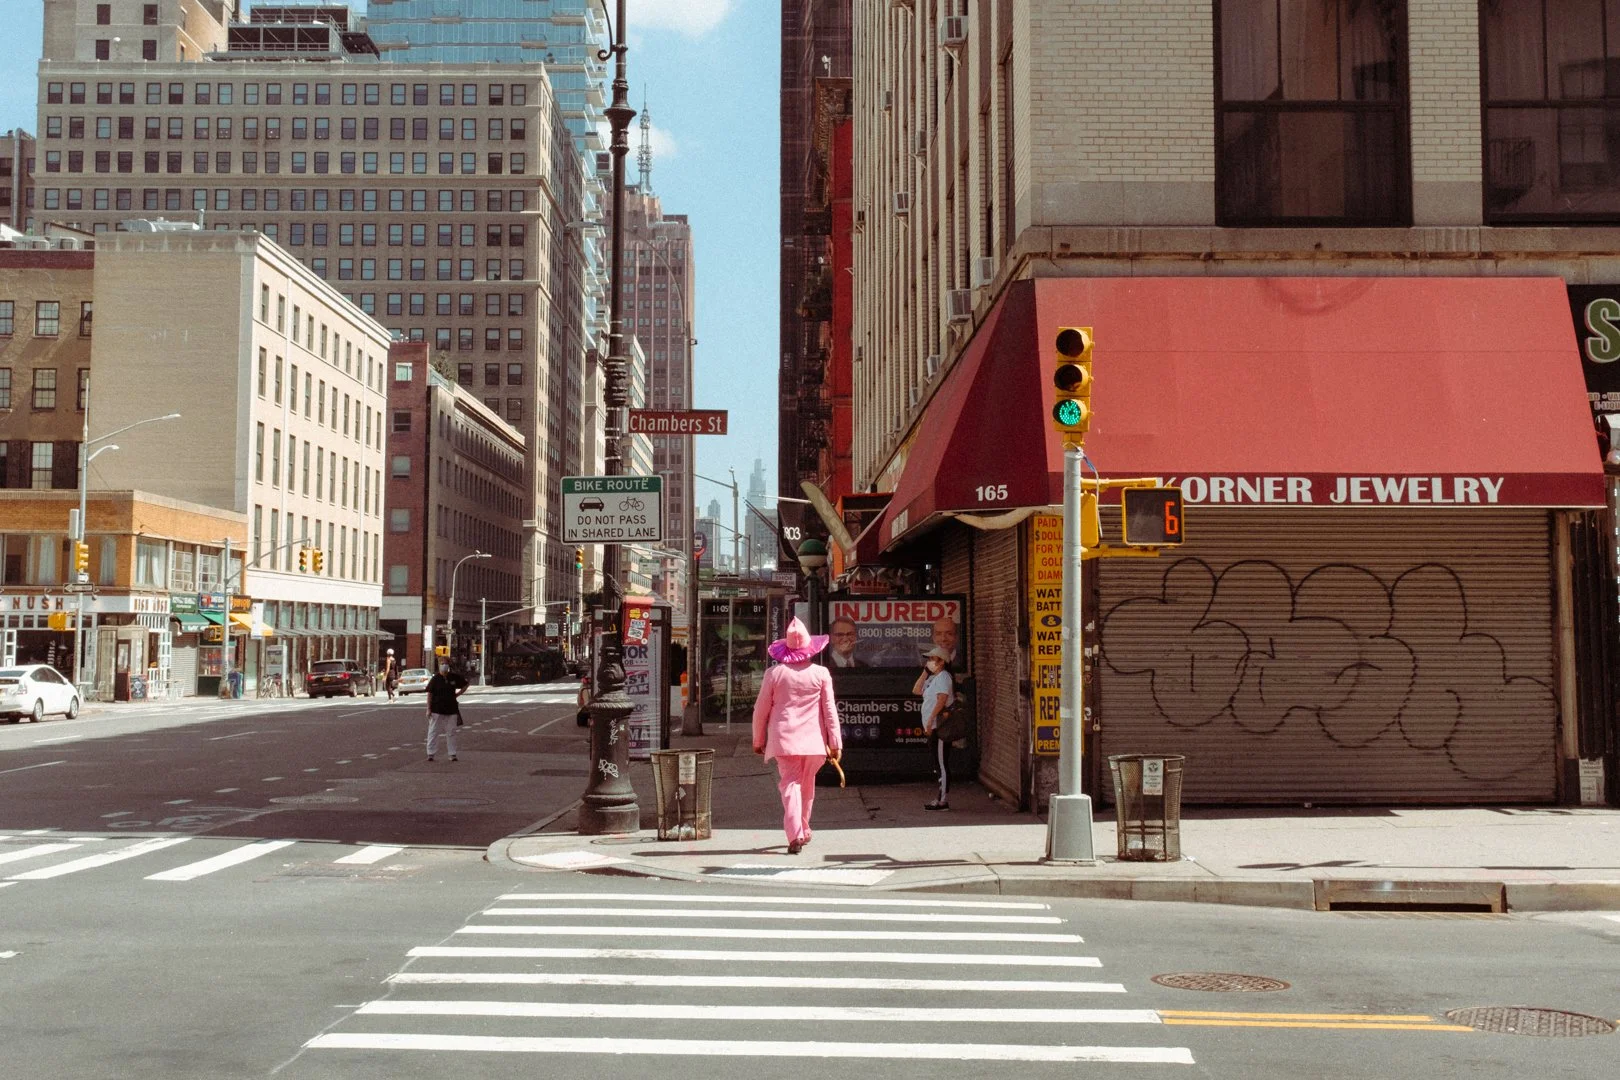 Image 2 of 7

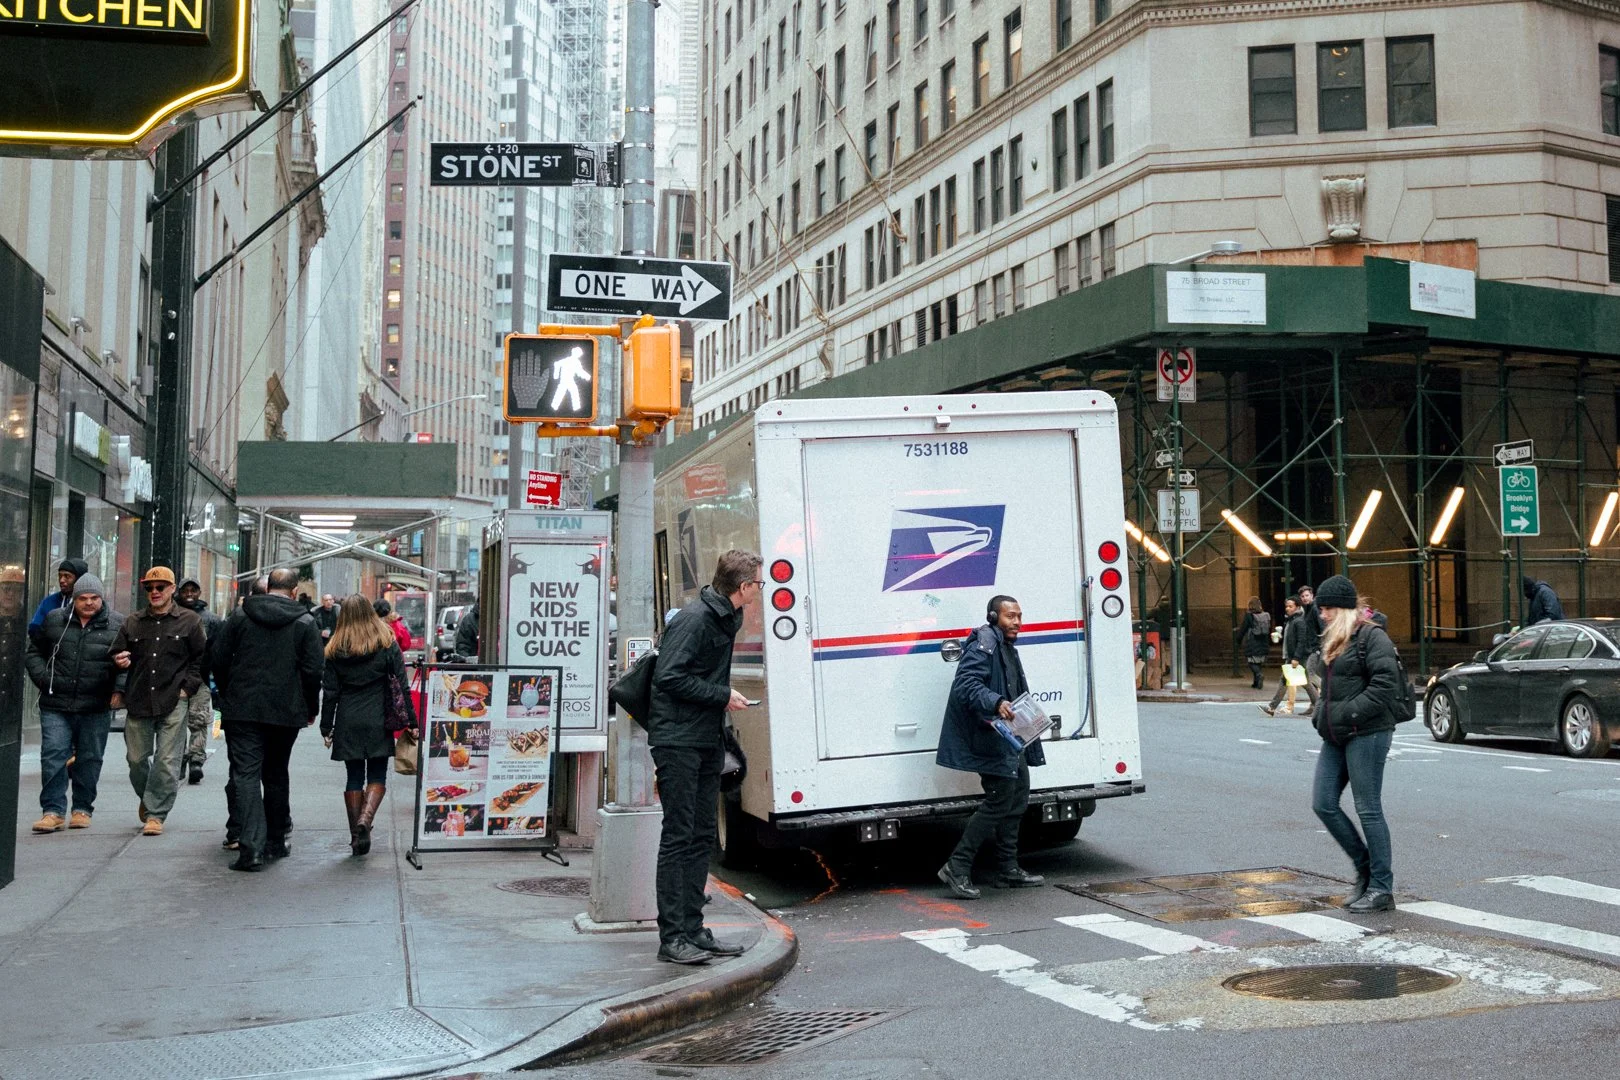 Image 3 of 7

 Image 4 of 7

 Image 5 of 7

 Image 6 of 7

 Image 7 of 7


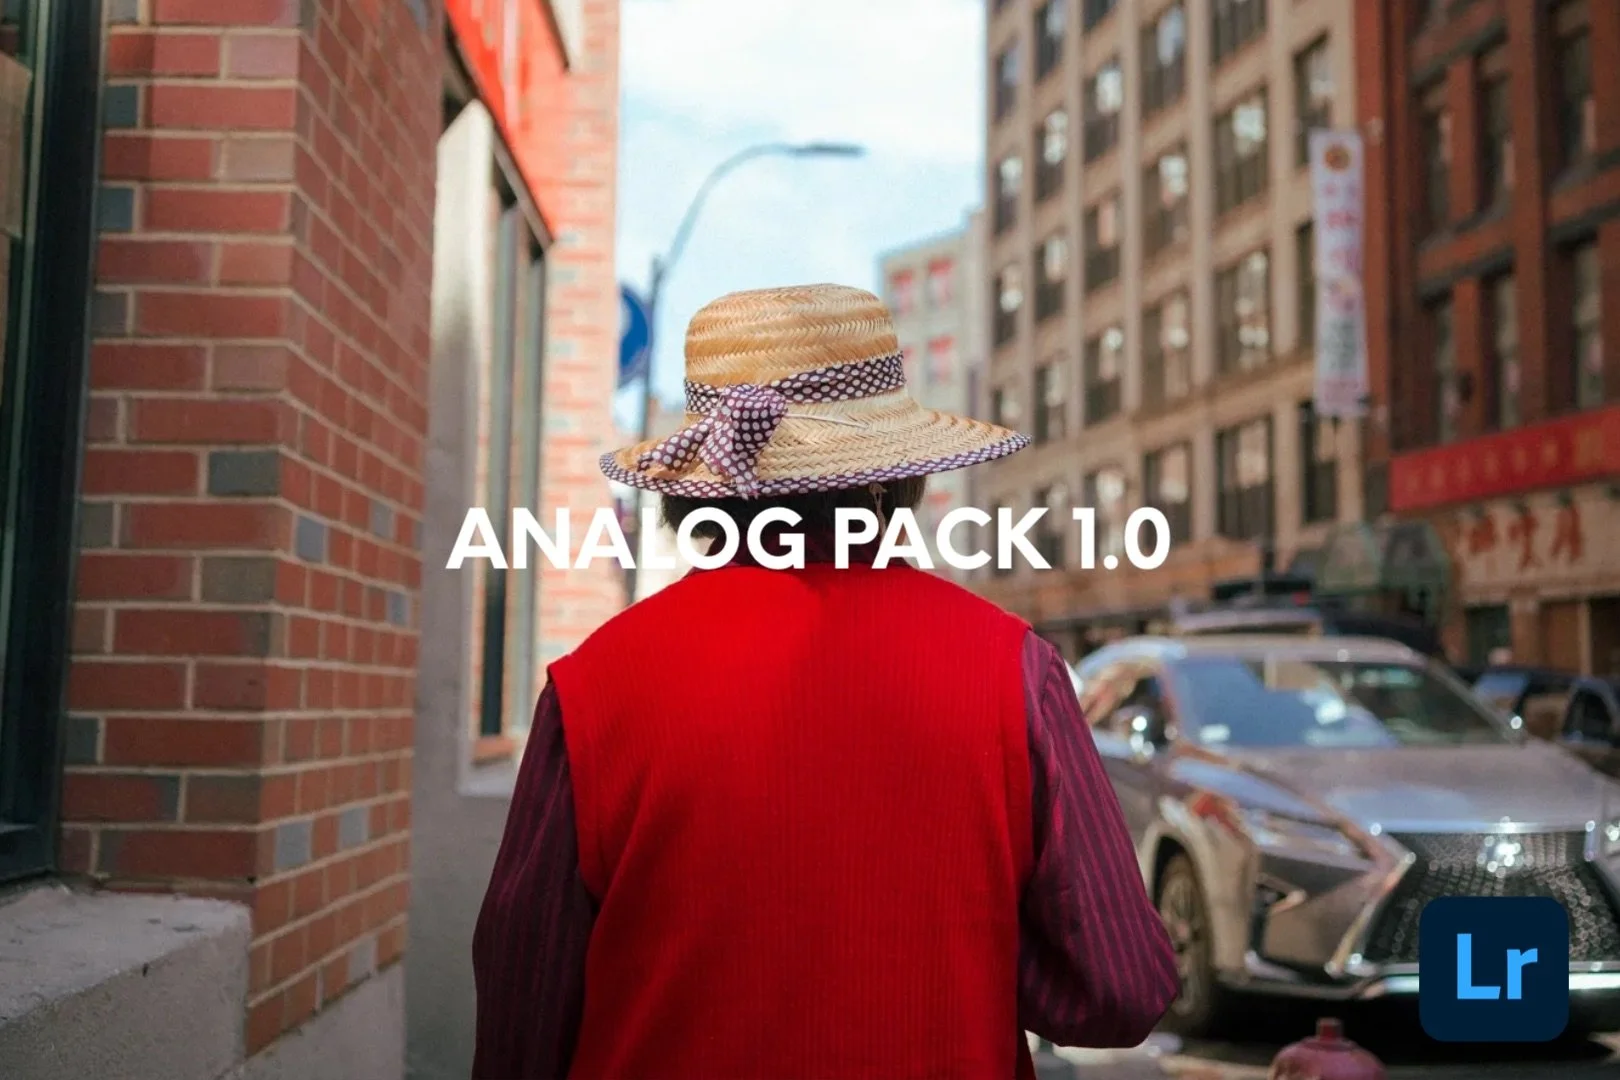
Lightroom Preset - ANALOG PACK 1.0
Please Note: For an updated preset pack that reflects how I currently edit please see my Analog 2024 preset pack.
This pack consists of five different Adobe Lightroom presets that are optimized to be used with Fujifilm raw files and the Classic Chrome profile, however these can be used with non Fujifilm photos. These are made for Lightroom Classic CC (2019-present) and Lightroom CC.
This preset pack is inspired by different film stocks that I’ve shot with in the past. While, not exact replications, they embody some of the distinct characteristics that these film stocks have.
Watch my video on YouTube with several more examples: https://www.youtube.com/watch?v=VMnVIfInGhA&t=
A look into each preset:
Butter Pecan. Inspired by Kodak Ektachrome 100.
Mint. Inspired by Cinestill 50D.
Cookies ‘N Cream. Inspired by Ilford Hp5.
Blue Moon. Inspired by Cinestill 800T.
Vanilla. Inspired by Kodak Portra 400.
These presets will work in both Lightroom CC and Lightroom Classic.
If you have any questions about installation issues, please contact me by email at hello@faizalwestcott.com or DM @westcott on Instagram along with your order #. I usually get back within the day!
How to Install on MacOS and Windows:
Download the ZIP file
Extract files
Open Lightroom and go to the presets window under the Develop module
Click the + symbol
Click import presets
Find the file location of the unzipped preset files and select
You’re all set! The presets should appear in the Preset window.
Note: Occasionally, the presets might not all show up in the preset window. If this happens, go to your presets settings page and make sure you are showing “partially compatible presets”.
How to use:
These presets should serve as a starting point for your editing process. They are not meant to be slapped onto your image and be done with! Here are some corresponding adjustments you’ll want to make after applying the presets.
Adjust exposure of the image (By default, each preset has +2 exposure. Bring this down until exposure looks right for your image!)
Adjust whitebalance
Fix highlights
Reduce saturation if needed
Fine-tune specific colors in HSL module to your liking